
I’ve always admire knitters, it is amazing the things they make, not to mention the patience and dedication they put into their work. I didn’t grow up around any knitters and know as an adult I really don’t have the patience or time to learn, or so I thought! I kept seen on Pinterest on “How to Knit a Scarf in 30 minutes even if you are an Amateur”, it seemed interesting but I was skeptical, would this be one of those “Good Ideas, Bad Ideas?” …I dismissed it for a while but desperate times called for desperate measures! You see I have this tendency (or need) to learn a new skill when ever life gets overwhelming, its my way of pulling away and letting my mind breath. With constant house showings during Jaden’s nap time and not knowing what comes next, I took the challenge to learn how to knit. You might be wondering when would I find the time to learn?! Well, that’s the miracle behind a toddlers 1 to 2 hours nap!
Like everything else, there are tons of tutorials out there, but everybody learns and teaches differently and sometimes finding the right tutorial can be a buzz kill on it’s own. I’ll share with you what I found.
Arm Knitting
The majority of the tutorials out there claim that you can get this done in 30 minutes to one hour, the truth is: if you’ve done it before -yes-, but if you are a newbie: no way! It took me a couple of “naps” just to figure out the technique let alone start the project, but once I figured it out it became extremely easy since it’s a repetitive process. It’s actually fun and pretty cool I must say! At one point I even considered making scarfs for everybody for Christmas! …I quickly woke up from that day dream though!
Out of all the DIY tutorials, this Video Tutorial was actually the most helpful, specially when she switches perspective and you can see it as if you were the one doing it.
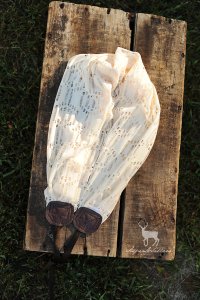
They all recommend that when arm knitting you should use bulky yarn (that’s why it looks so full and nice), living in South Florida I really have no use for a thick woolly scarf, so I decided to try it with a more thinner “fresher looking” yarn. I honestly know nothing when it comes to yarn, I just bought based on touch/feel and price.
I’ll admit it looks different from the bulky infinity scarfs but it is something I can wear in Florida and I can proudly say I knitted it in about three hours! (Thanks to a good nap and The Wiggles!)

byLisandra

If you are interested there are other things you can do with arm knitting; like blankets and shawls, check out this Site for more Free Patterns!
Finger Knitting
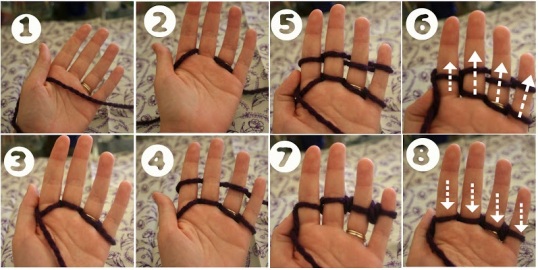
The one thing that attracted me to this technique was the fact that almost all tutorials show kids of all ages doing it. It seems it is a common craft for children, though I’ll admit I’ve never heard of it before. I literally learned how to do this in about 30 minutes, I was so happy with my quick progress and speed that it wasn’t until I was half way through knitting my rope that I started to wonder: “what am I suppose to do with this?!”
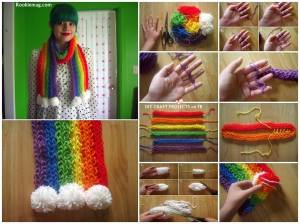
I stopped and went straight to Pinterest looking for clues as to what to do with my rope. I couldn’t find many projects related to this, I considered making it into a bowl (we will be doing this on a later post) but I was afraid it wouldn’t survived the whole moving process once we sell the house (yeap, still working on that!). I really didn’t want to make another scarf but I couldn’t think of anything else. I used this other Tutorial to make the rope into a scarf (it’s pretty much the same process as with arm knitting) minus the pompoms!
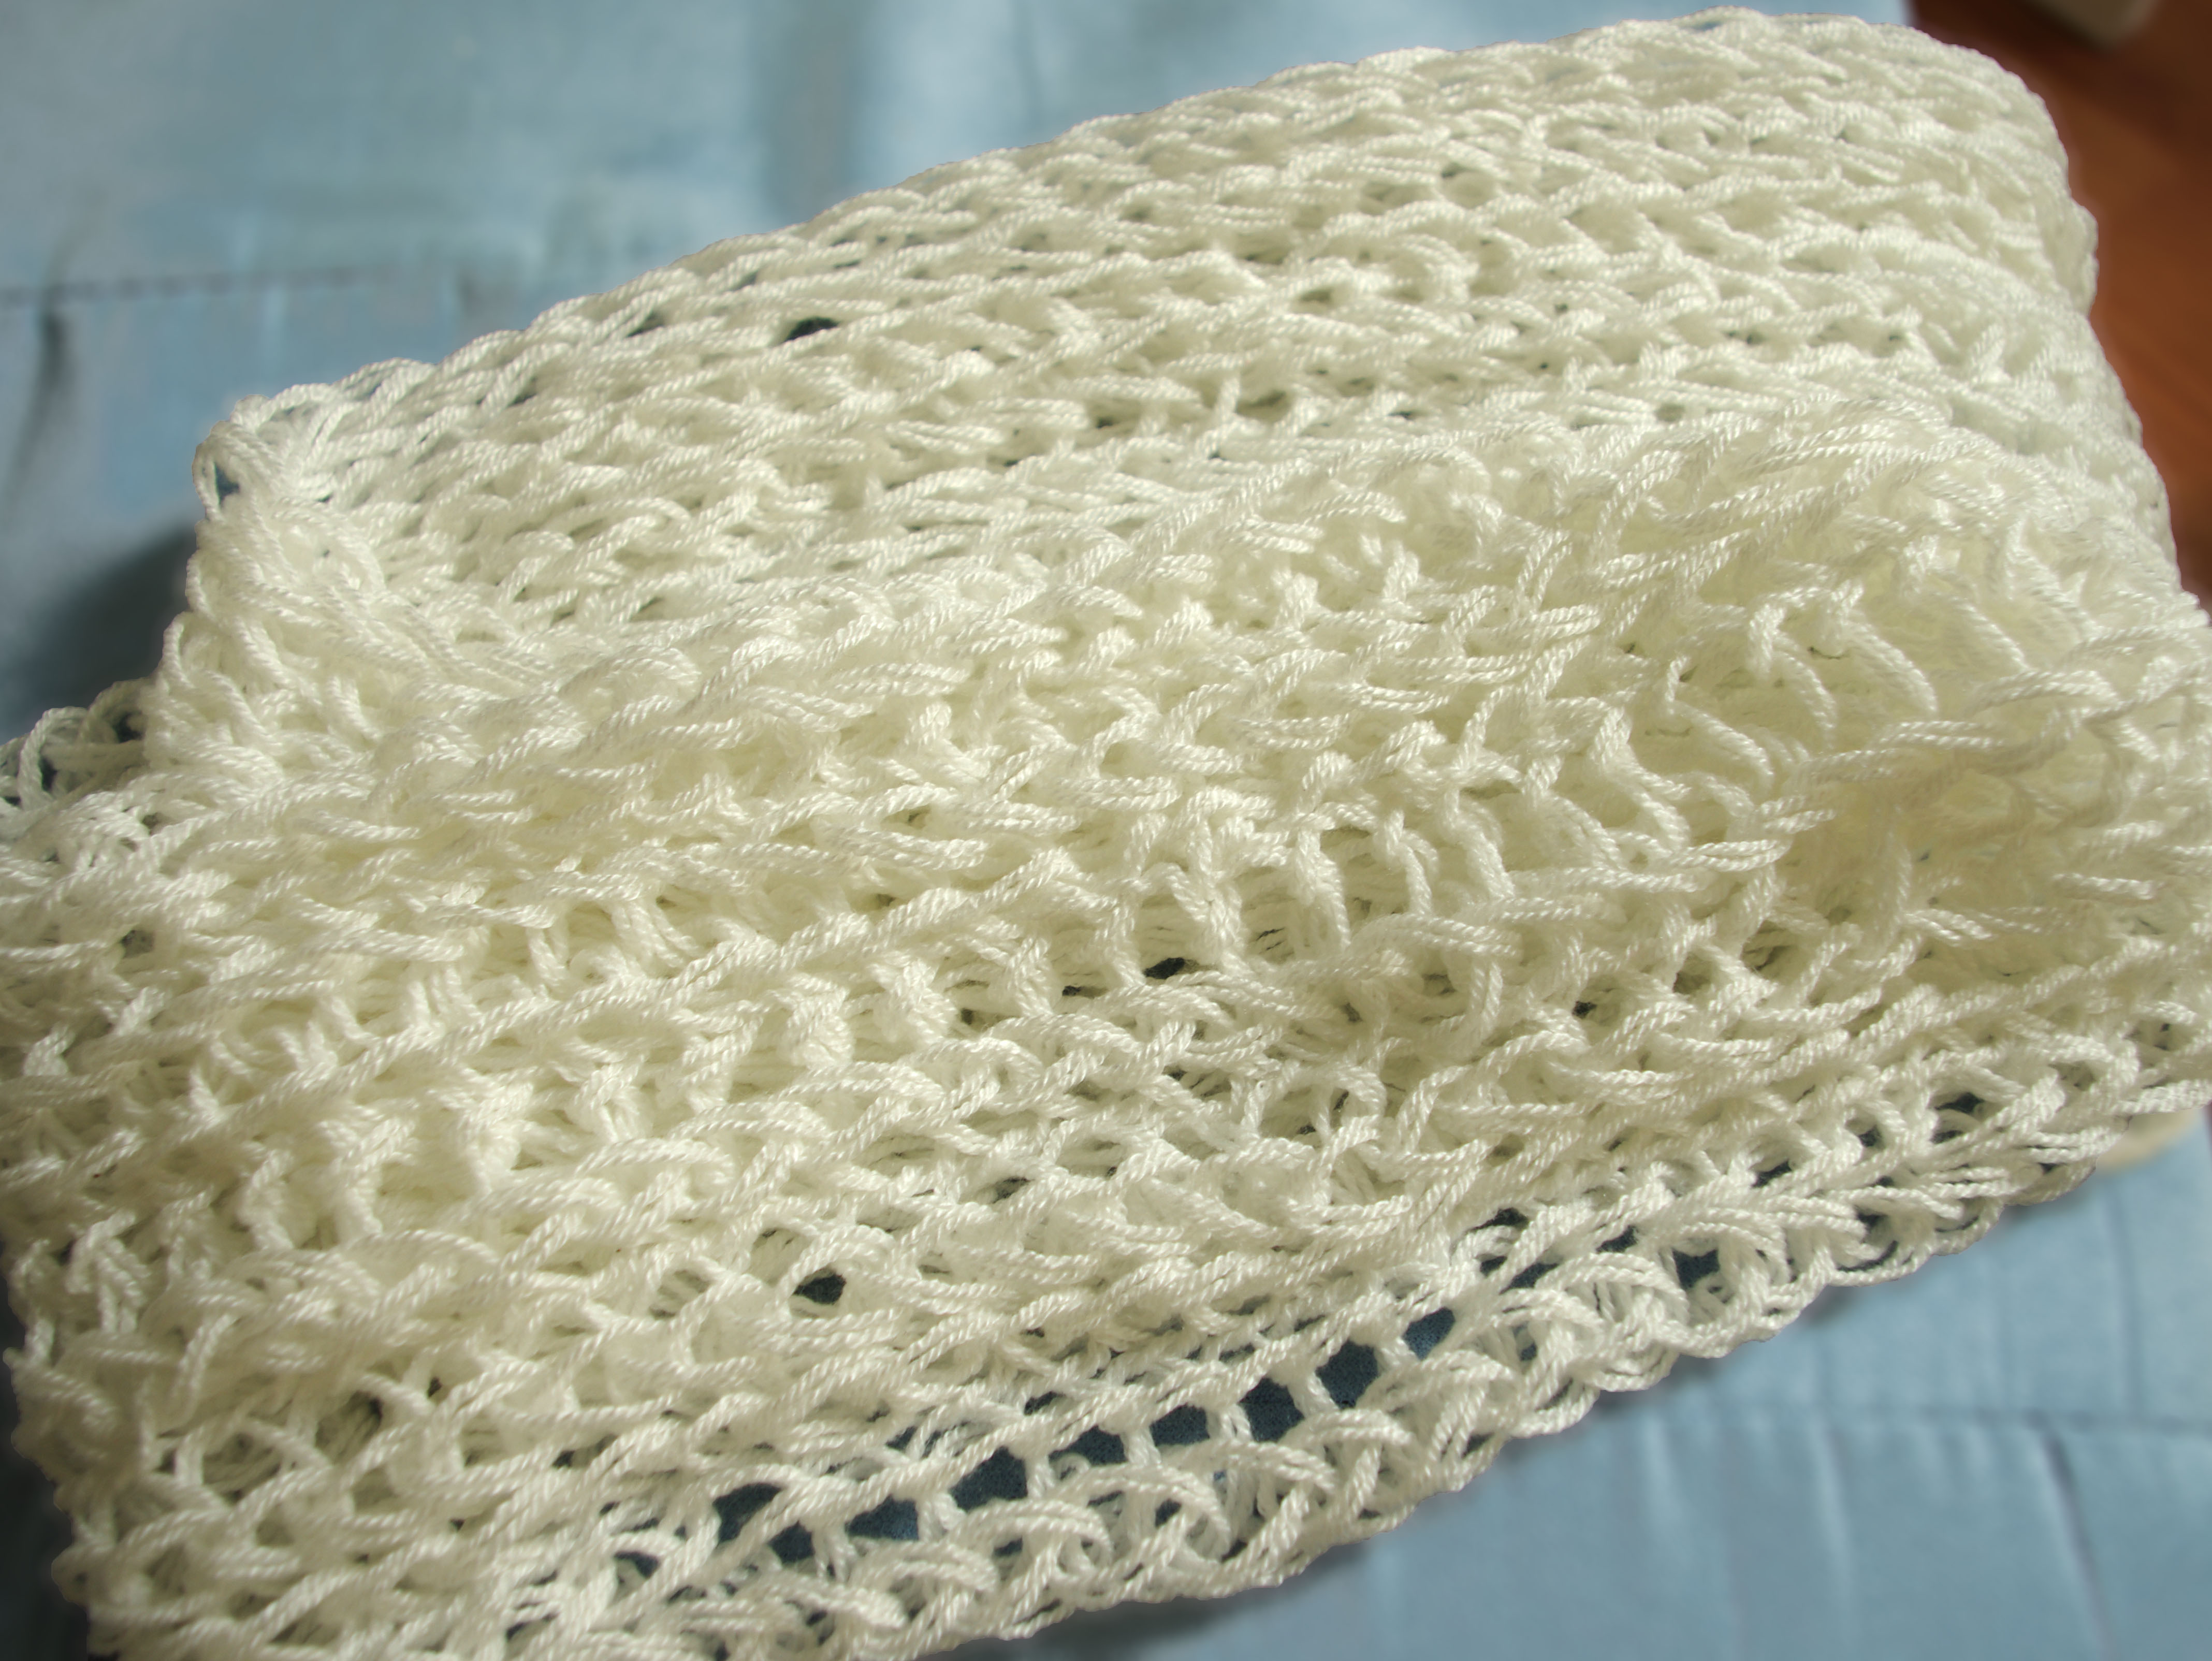
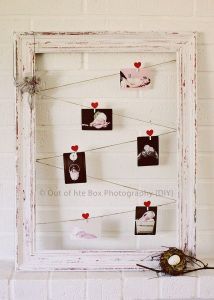
Here is my finished product! I love how delicate it looks, it’s extremely soft and surprisingly not hot like most knitted scarfs, it’s perfect for Florida weather!

You can also make a vintage looking necklace out of the rope, I’ll be doing this next time!
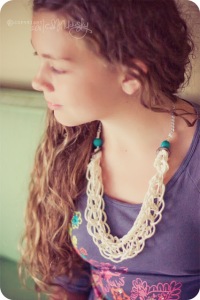
The yarn you choose has a lot to do with how delicate or ordinary your final product looks. Once more I went for thin, soft, delicate yarn but this time with a hint of shine to it. My advise is, go with a yarn that appeals to your sense of touch and style. The yarns suggested by most tutorials are what you should use, it doesn’t mean that you’ll get it wrong if you choose something else, it just means it will look different and who knows if better!

But then again, this is my first time knitting! Still not sure about knitting?! How about yarn crafting! Here are some cool DIY Ideas!
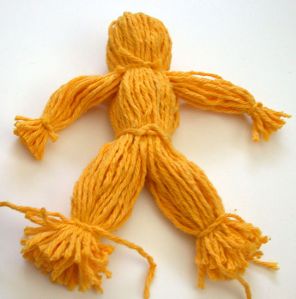
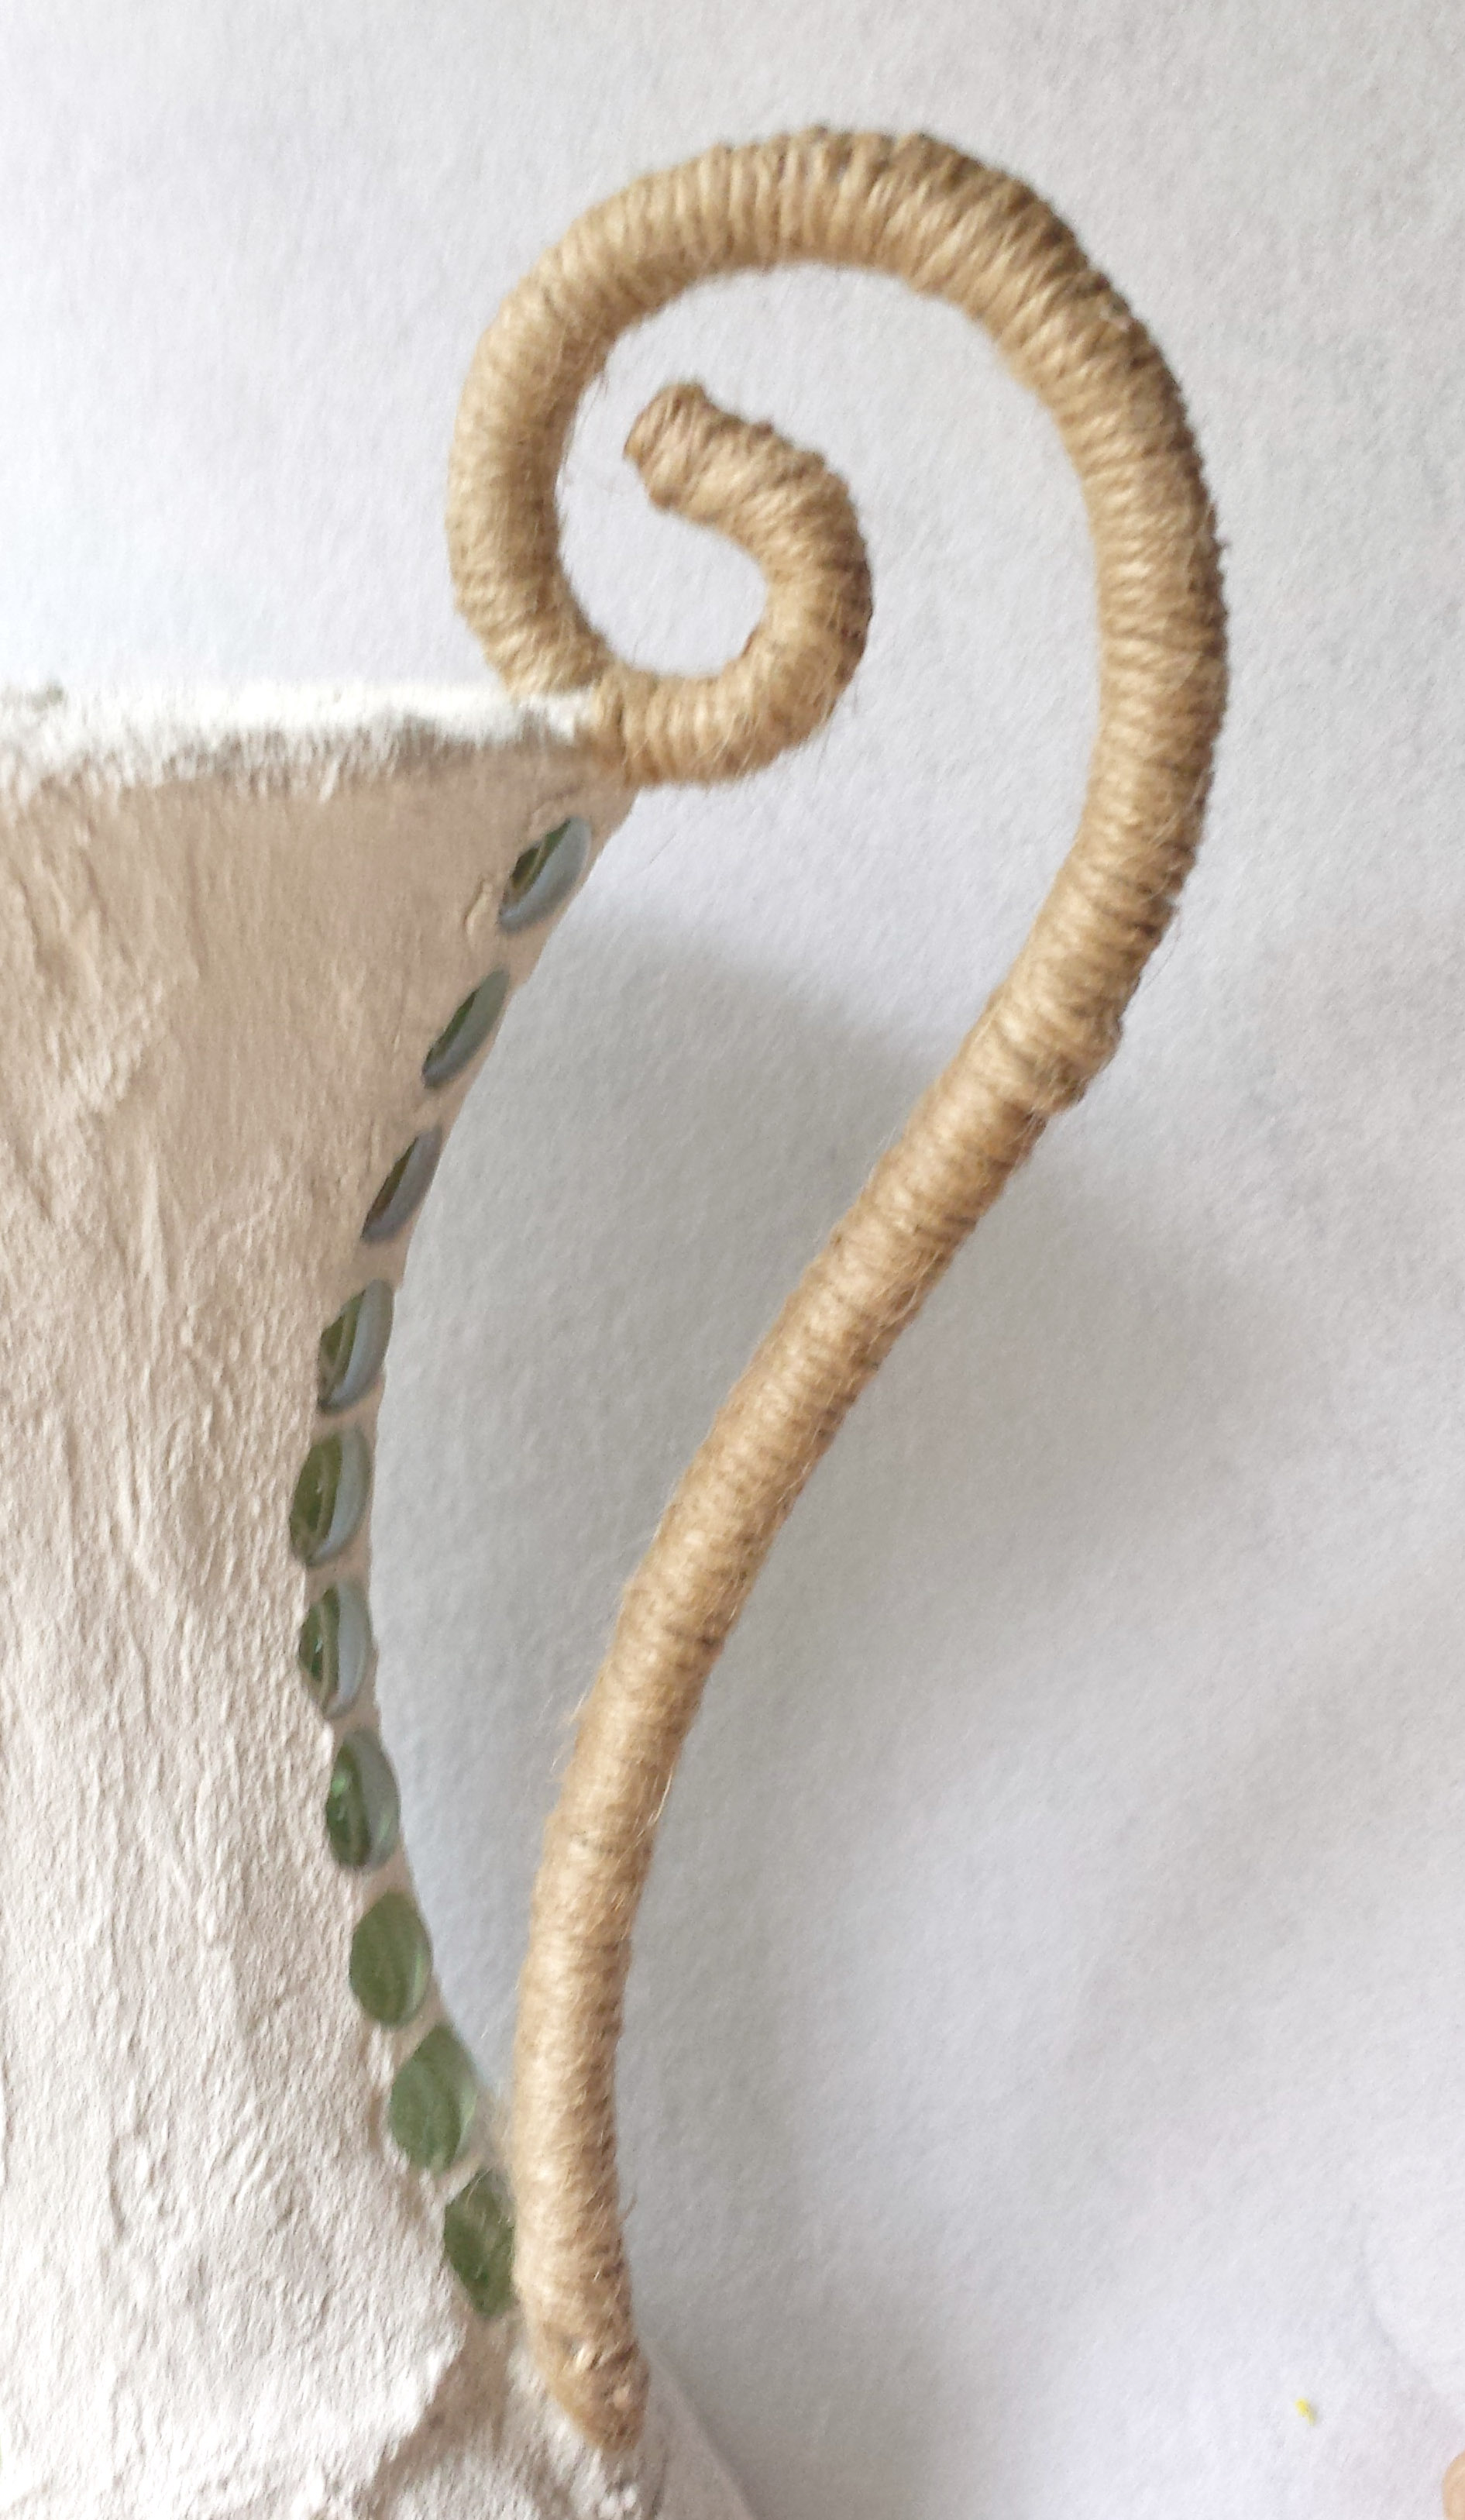
Yarn Doll
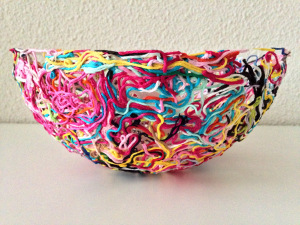
Yarn Bowl
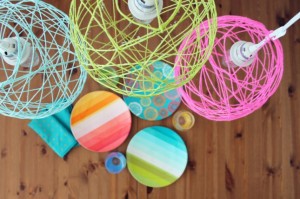
Yarn Lantern
See you next week!


